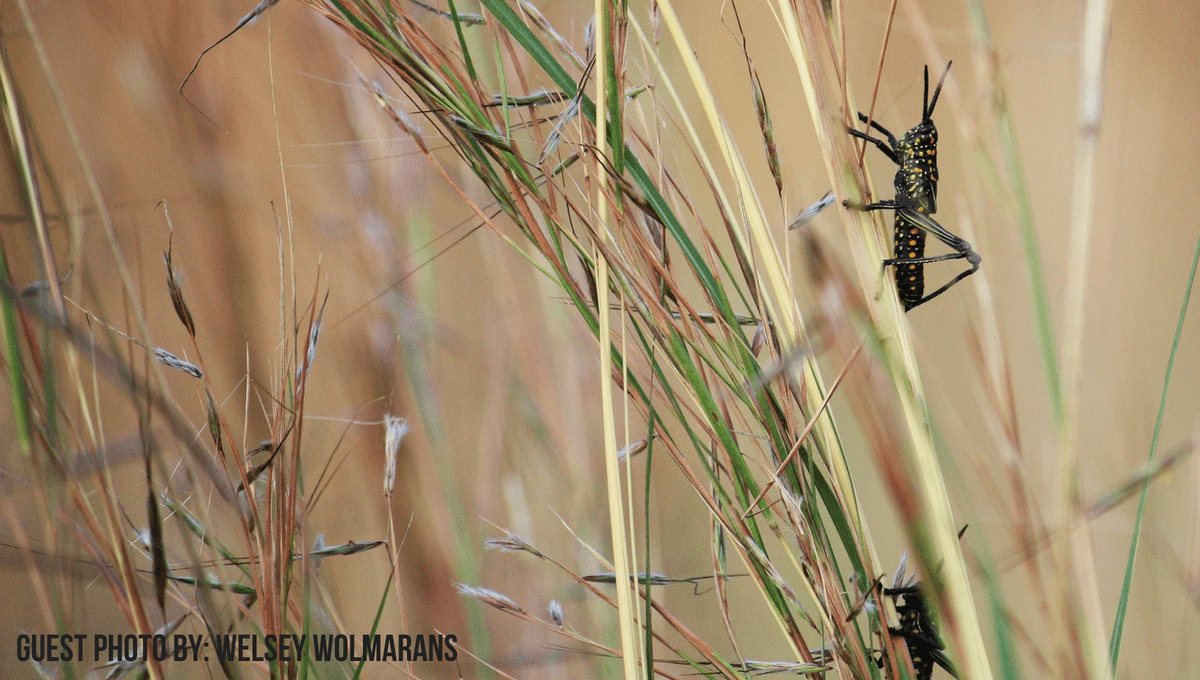
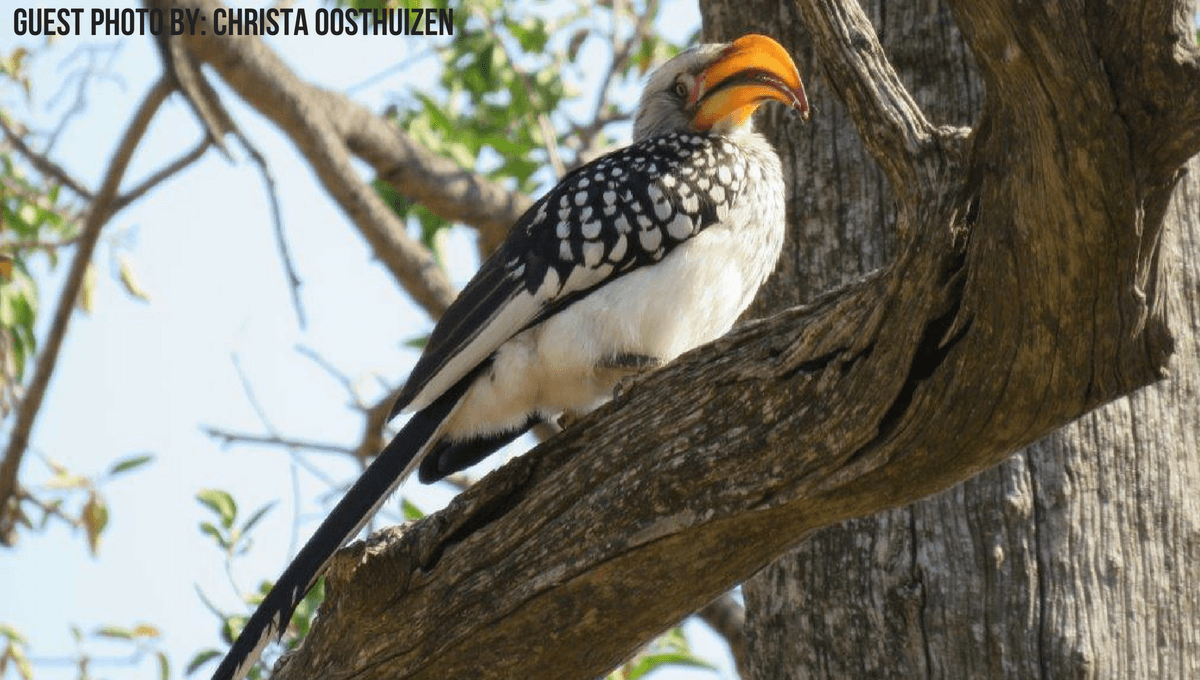
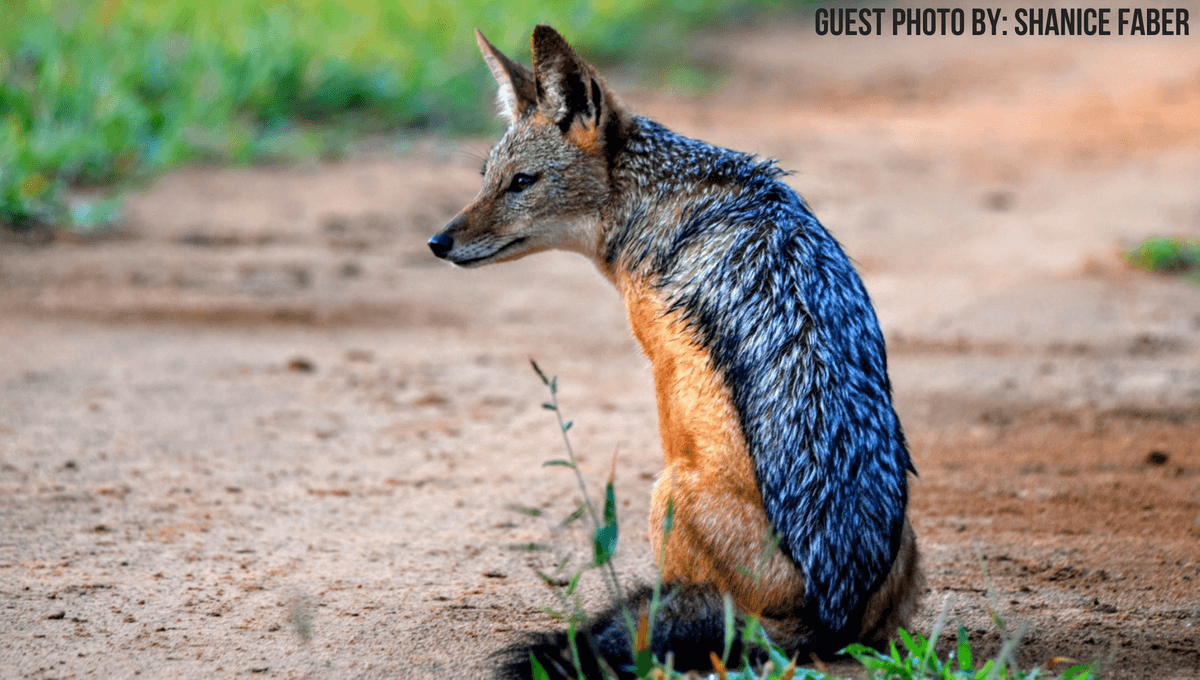
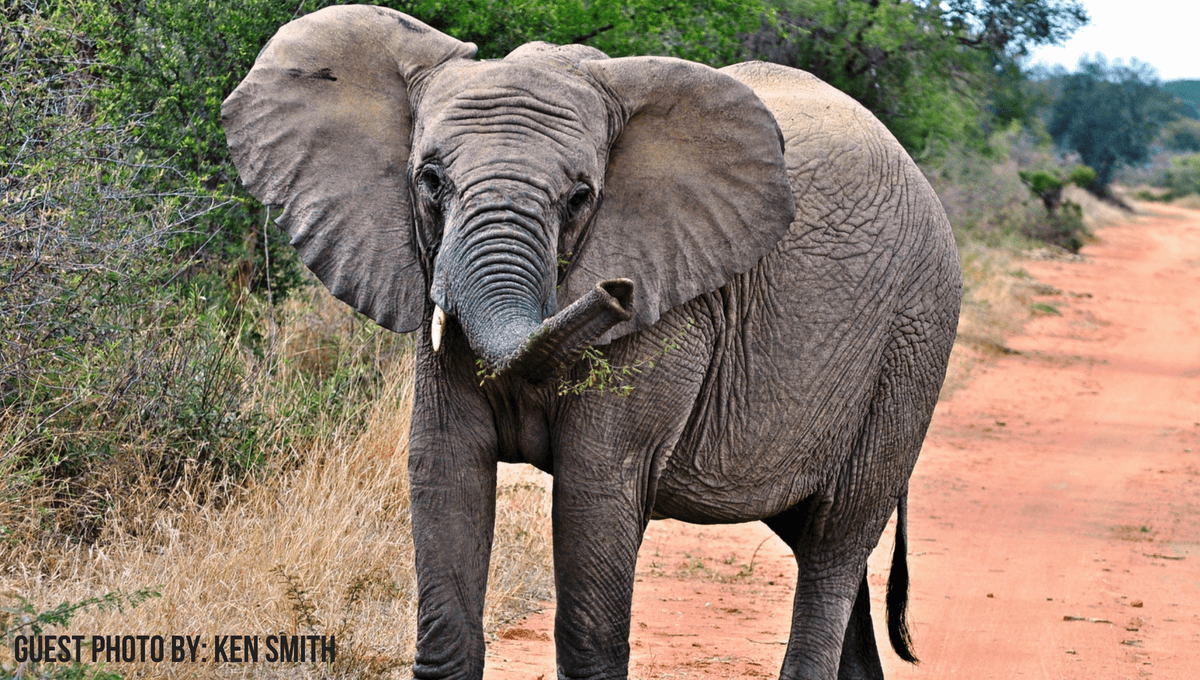
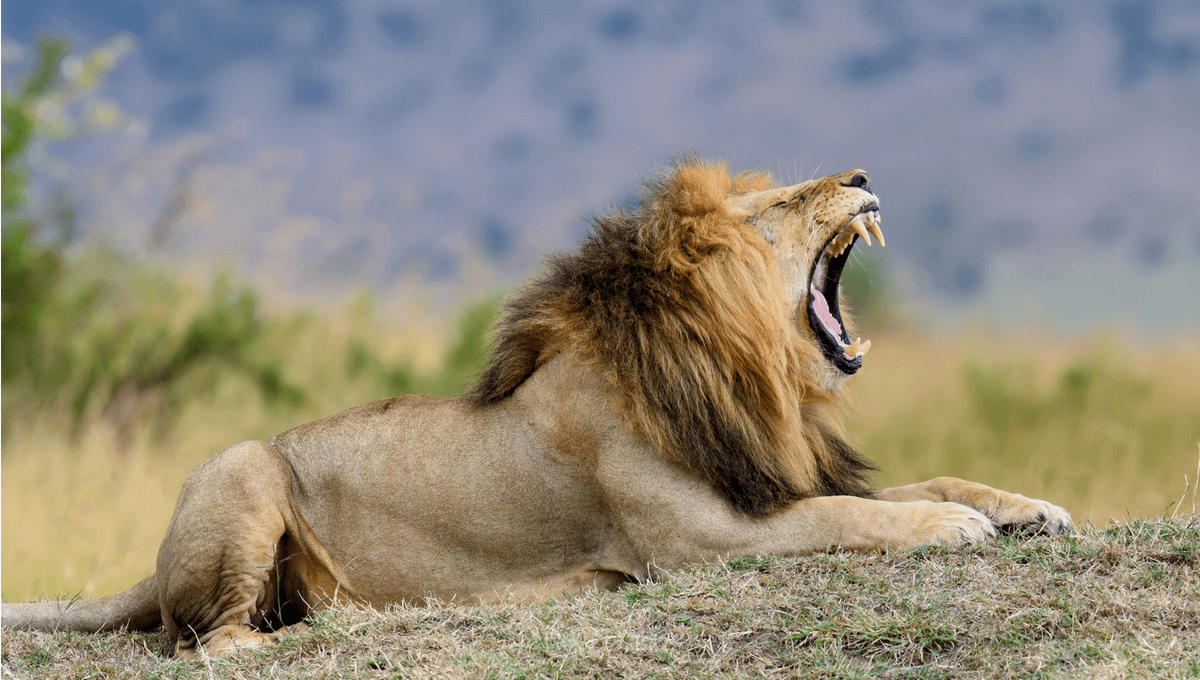
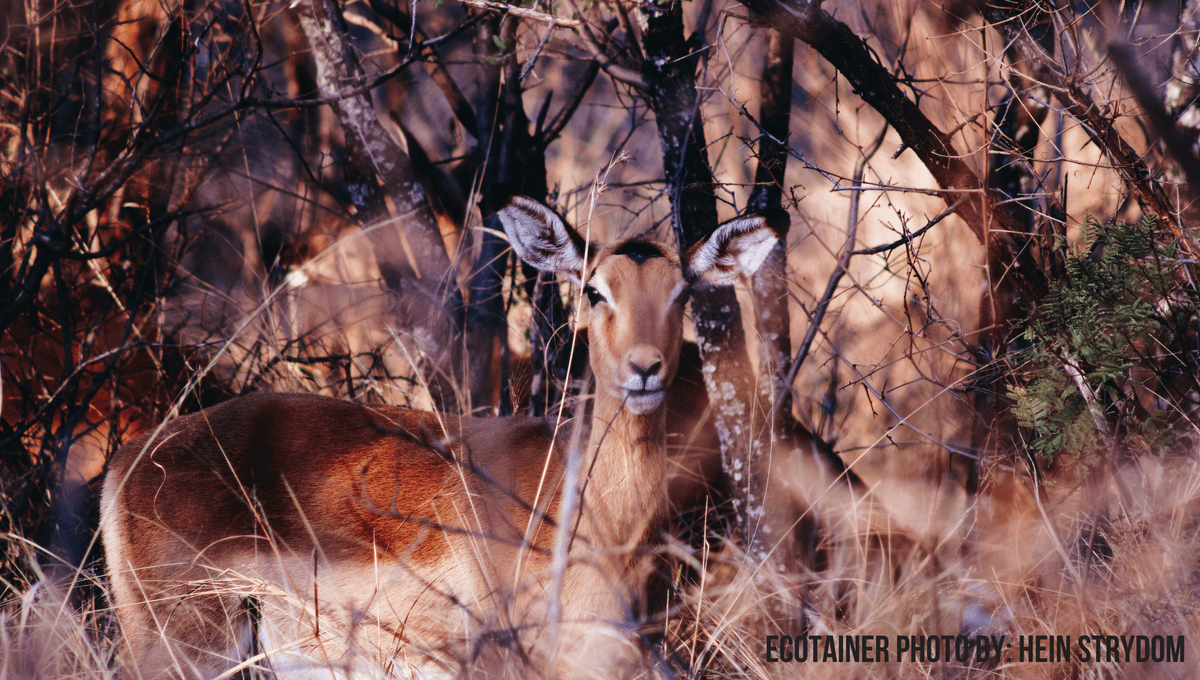
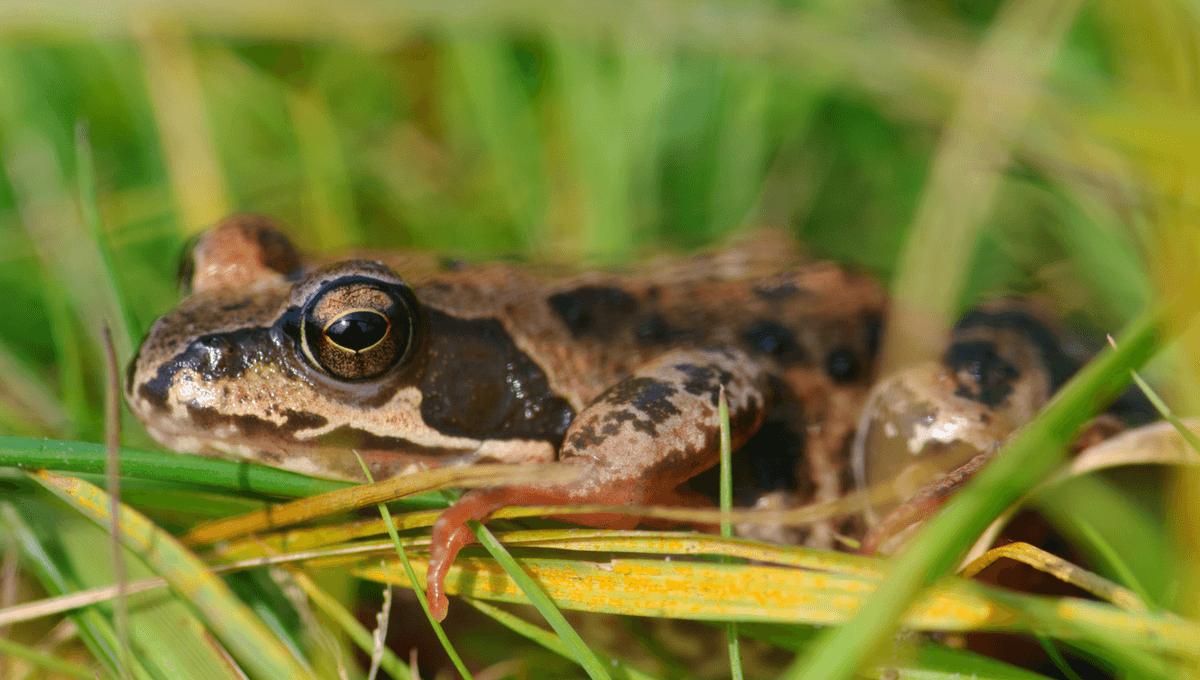
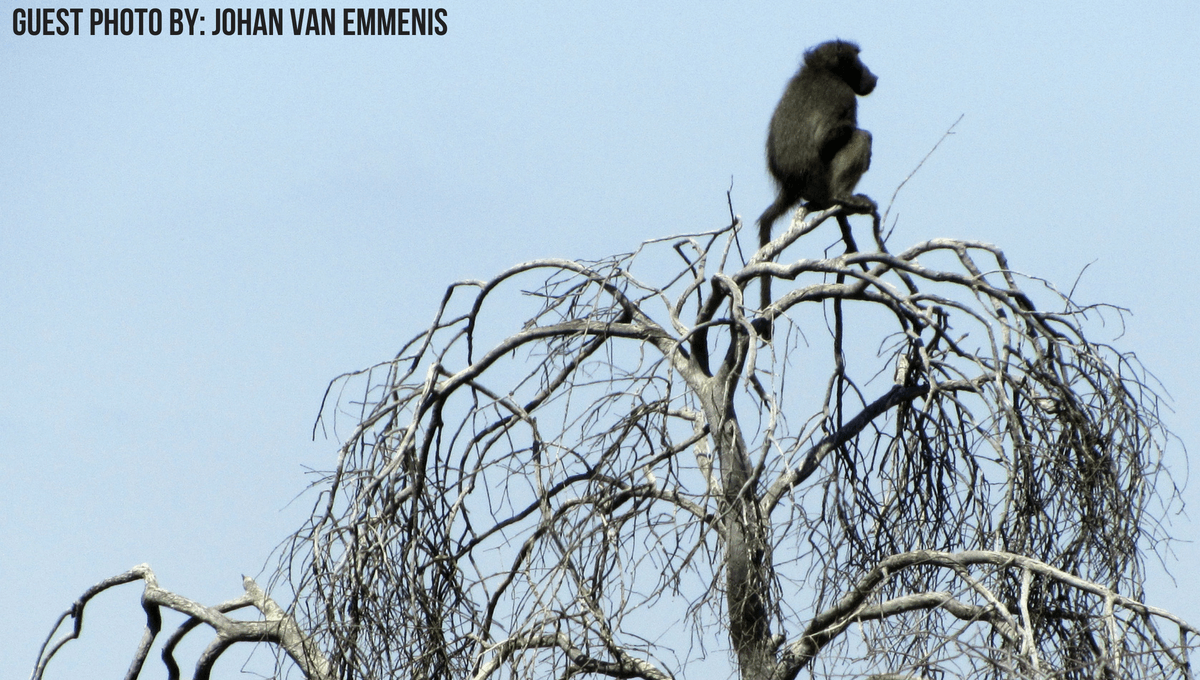
That utter dismay of returning to base camp only to find all the photos you snagged of that pride of lions are out of focus, have poor lighting or, the pride looks suspiciously like a tree. These are all too familiar moments that amateur photographers experience. Let’s face it – very few of us have the time or the pricey equipment it takes to set up in a make-shift hide for 6 hours a day, lying in wait of the perfect shot; and then still return home to fancy editing tools to make our images look like a million bucks.
Our hearts lie in capturing the moment so that we can relive the day at a later date surrounded by family and good food, sharing stories late into the night. But wouldn’t it be great to hear a, “Wow! Did you really take that photo?” rather than a, “Are you sure that’s a hippo? It looks like a rock.”
Without further ado, here is your guide to awesome wildlife photos:
- Get your camera set up right at the beginning.
All those images you’ve taken where you swear there was an impala in the scene, but in the photo, there isn’t? Or the bright light white-washes your photo so you might as well delete it. Maybe your camera has an auto flash you forgot to turn off and now that brilliant blue kingfisher is a grey fleck in the sky above you. This is what needs to change. Keep in mind that your subject will likely not stand still for prolonged periods of time, so get your camera set up to higher shutter speed, use a telephonic lens if you can, and turn that flash off permanently!
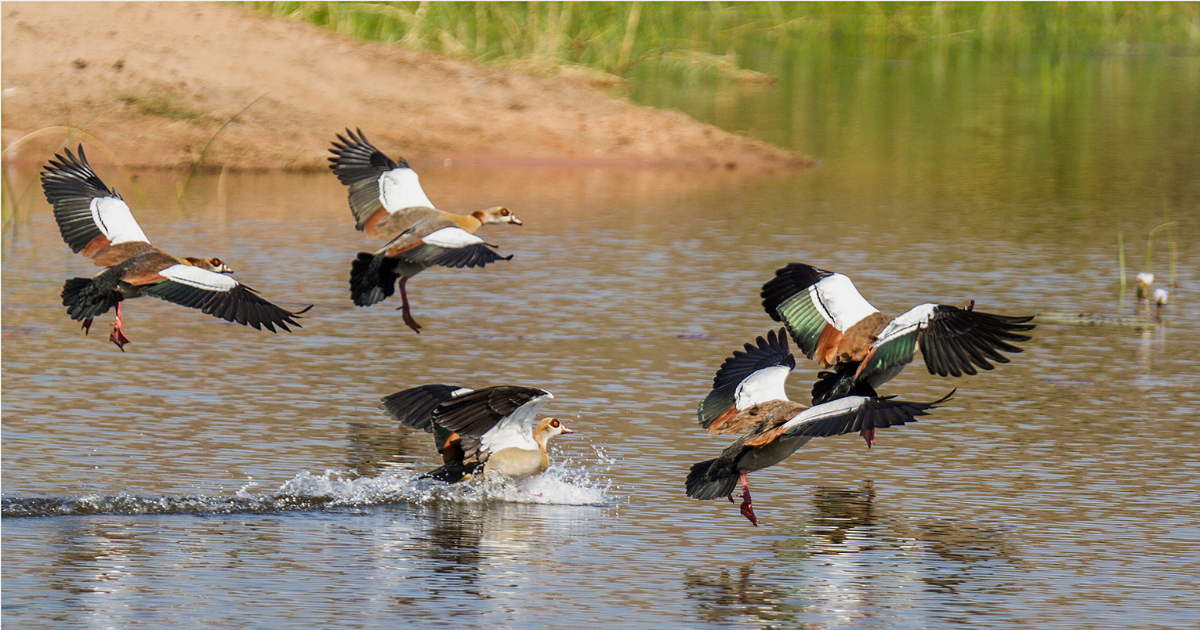
- Let’s plan!
The wildlife in South Africa is most active early morning or late afternoon/evening. This is why so many game reserves offer drives at these times – it’s to maximise your chances of spotting big cats in action or hippo’s grazing out of the water. So whether you book a guided tour or decide to pack some “padkos” and hit the road in your own vehicle, do so at these times. If you are specifically looking for shots of one species try researching their habits and find out when and where they’re most active.
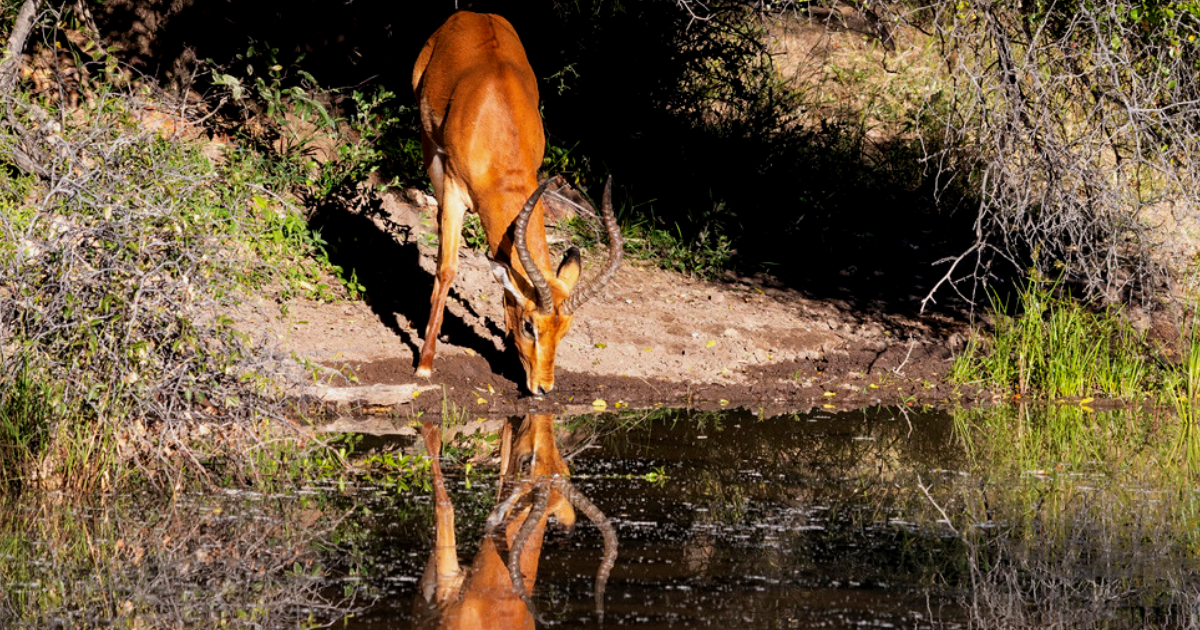
- Set the scene.
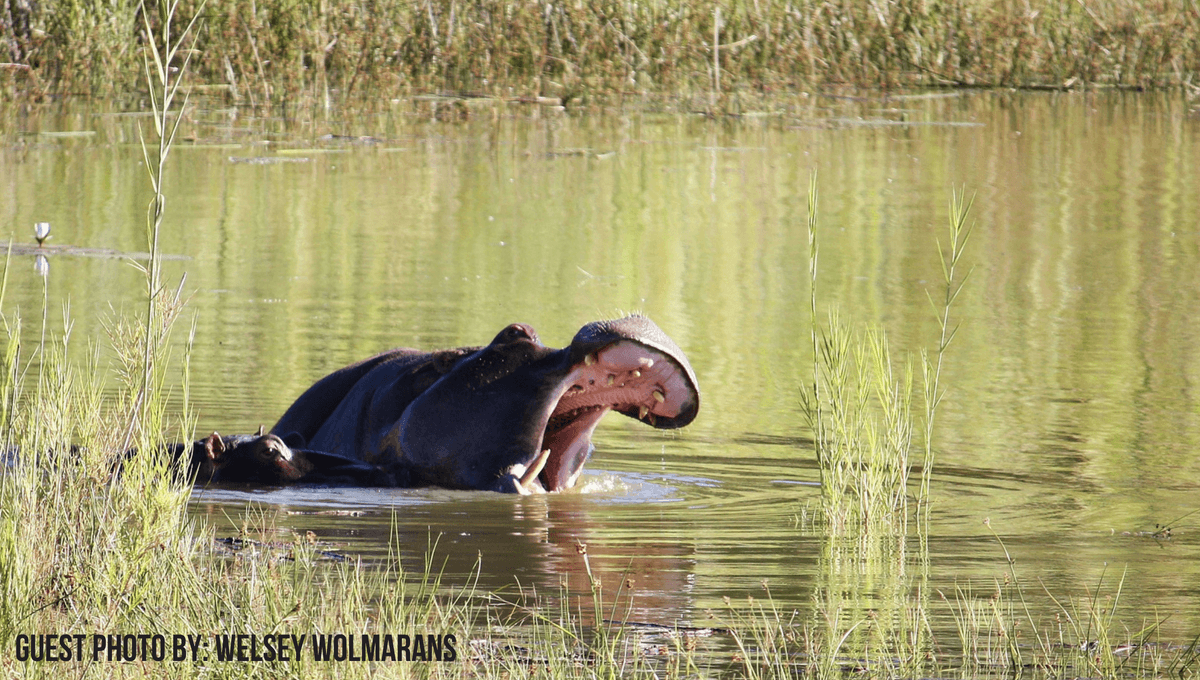
First and foremost, you will want to find a spot where the background compliments your subject. Think of the space they are moving in and capture a large portion of that behind the subject. Think of a lone leopard wandering along a road, or a pod of hippos just peeking out of the water at a dam. Picture the shot beforehand, the colours, the foliage and the animal in unison. Commit to the perfect shot and position yourself and your camera in-line, or in eye contact with the animal to really get those gazes front and centre in your images. Have you ever seen that National Geographic photographer belly down or on their haunches? Yes – that is what we mean. Then have patience! Take a bunch of photos from different angles and spend some time following the animal.
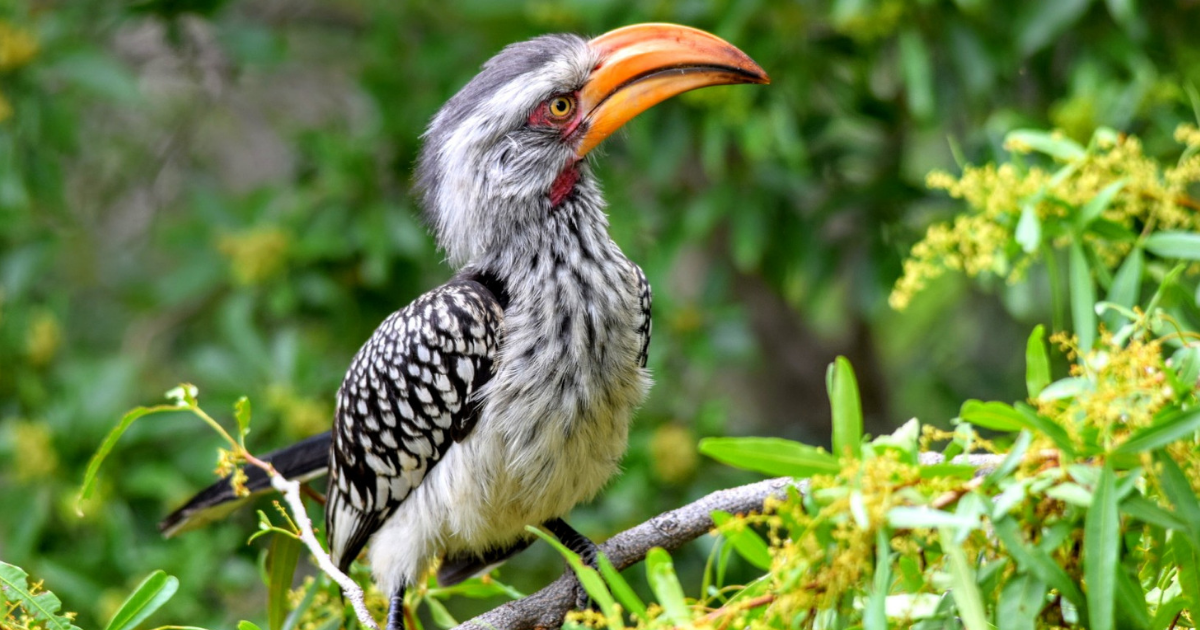
And yes – editing gives images that “wow” factor, but you don’t need to spend your savings on some software for photos you aren’t planning to earn an income from. These images are for your collection, so find a free picture editor that will help spruce up your photos and voilà! You’ll be a master photographer in no time.
If you’re looking for something a little more in-depth try signing up for this free course.
And don’t forget to send us your awesome shots: yourresortstory@vrs.co.za
